Junk email, we all get it, we are frustrated with it. In this article, we will show a different approach to handling junk email that does not require logging onto some other interface to release good email or complex setup of some add on to Outlook. It's simple and it works!
To begin, we must first change how we think about processing email. Typically we take the same approach as dealing with junk email at our homes or businesses. The post office drops all of your mail, usually 90% of it winds up in the trash, while we occasionally find a bill or better yet, a check, which is the mail we want mixed in.
Our approach is just the opposite. We are going to tell the post office (Outlook) to put our mail in the trash and then we will give them instructions on what we do not want to go to the trash. In other words we are going to trust nothing at first and then add to a list of safe senders, telling Outlook what we really want. This approach takes time to master and teach Outlook to do, but the end result is that you have a more efficient way of getting your important email and the need to teach, or manually filter diminishes over time. Eventually you will be able to check your junk email once a day or less, depending on your needs.
To setup Junk E-mail filters in Outlook follow these steps:
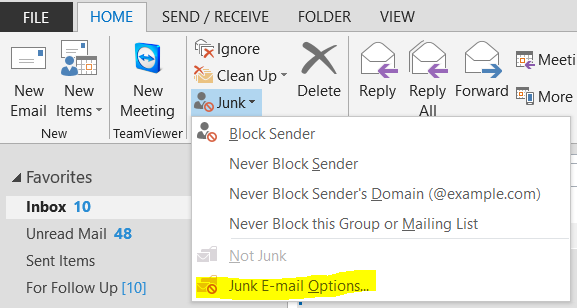
- On the Home tab, select Junk and click Junk E-mail Options..
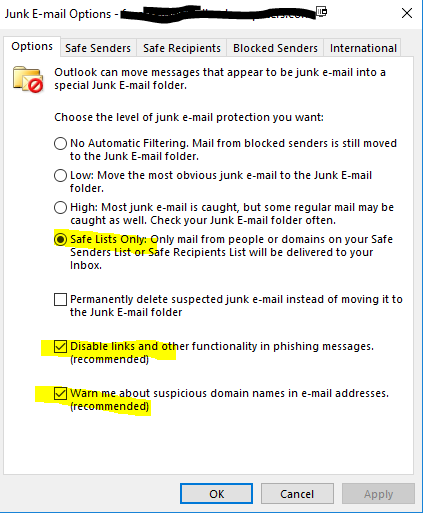
- On the Options tab, select Safe Lists Only, Disable links and other functionality in phishing messages and Warn me about suspicious domain names in e-mail addresses.
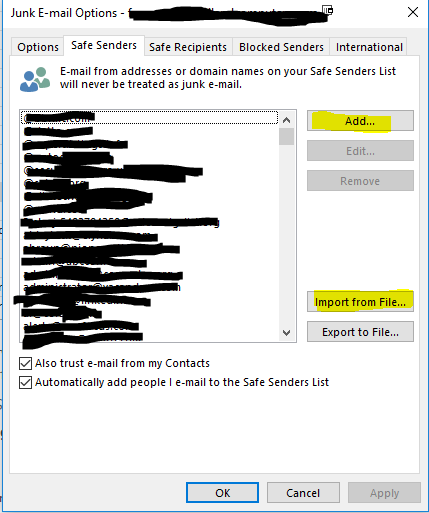
- On the Safe Senders tab, you can add any email addresses you already know you want safe listed. You can import a text document that has email addresses listed, one per line. Make sure you check the boxes "Also trust e-mail form my contacts" and "Automatically add people I e-mail to the Safe Senders List".
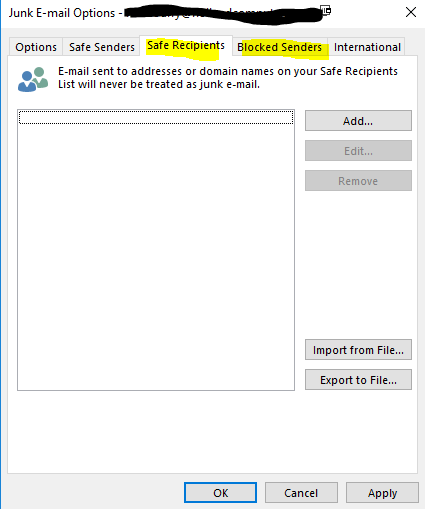
- Make sure that the Safe Recipients and the Blocked Senders tabs are empty. You can populate these if you want, but you should not need them except in rare circumstances.
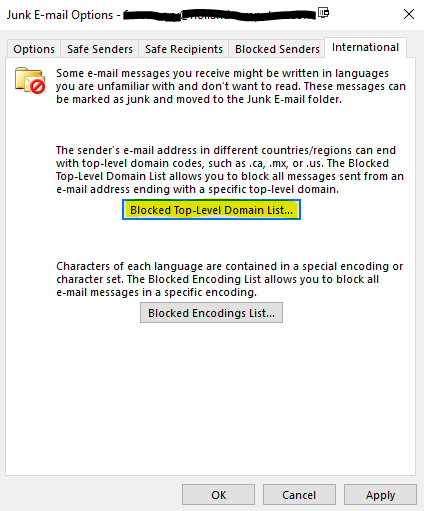
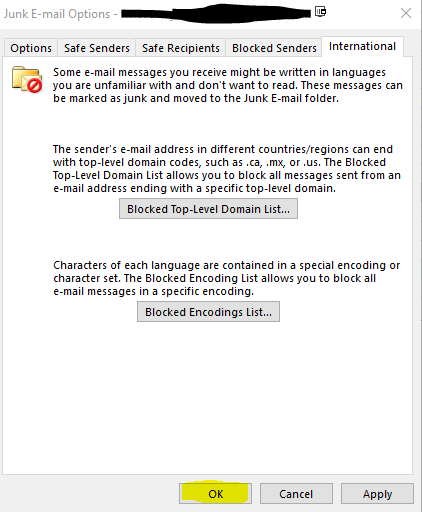
- On the International tab, select the "Blocked Top-Level Domain List..." button.
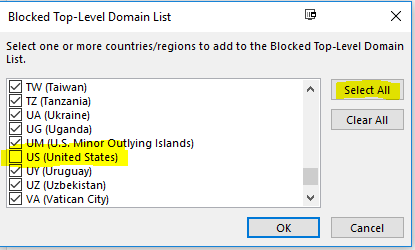
- Click the "Select All" button, then deselect the countries you expect to receive email from. Then Click "Ok"
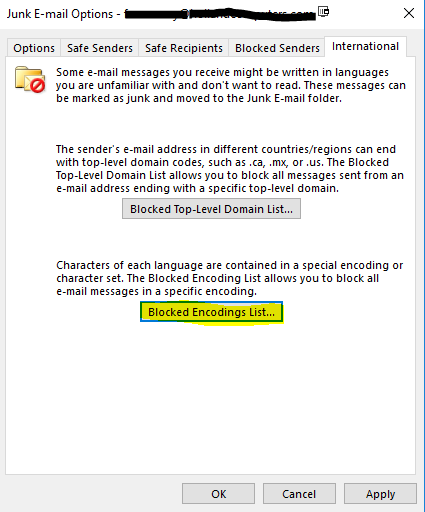
- Back on the International tab, select the "Blocked Encodings List..." button
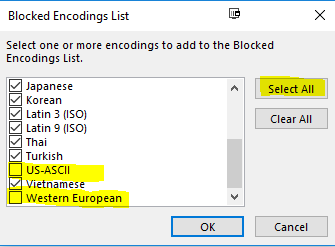
- Again, click the "Select All" button, then deselect the languages you expect to receive. Then Click "Ok"
- Click Ok and your setup is complete
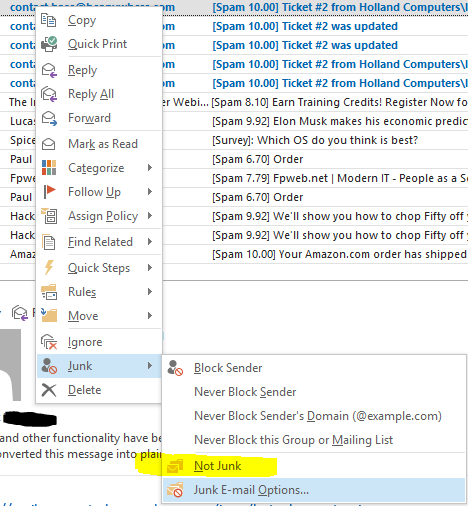
- At this point any email not in your safe senders list will go to your Junk Email folder. To add a sender that was caught in your Junk Email, simply right click on the email and then select "Not Junk".
As you add more to your safe senders list you will need to do this less often. Eventually you will find that you inbox will only have good email and that you only have to add to your safe senders list occasionally.